
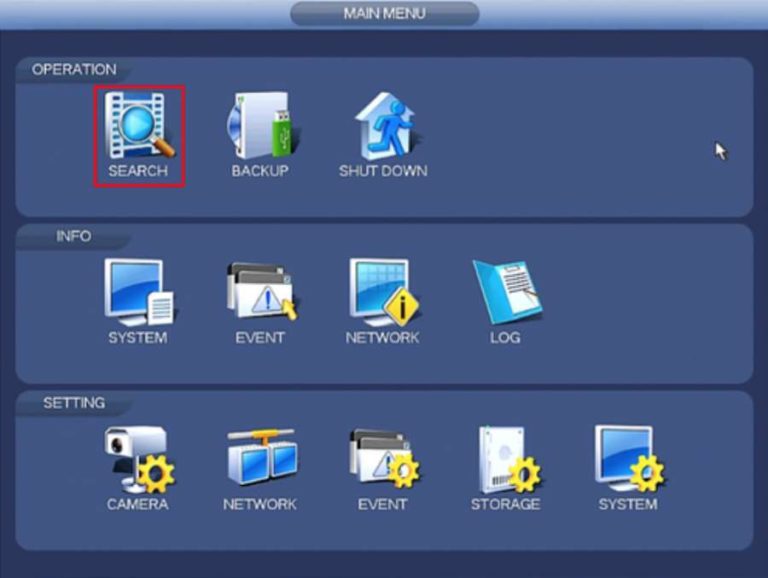


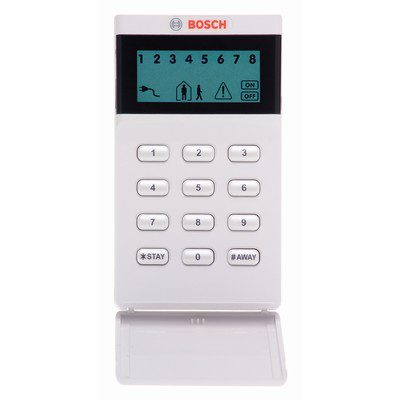
This guide provides a straightforward breakdown of how to operate the core features of your Bosch Solution 3000 alarm system using both your physical wall

DISCLAIMER: Bosch Security and Jim’s Security recommend that users experiencing persistent hardware issues with their IP module contact an experienced and trusted technician. Please note
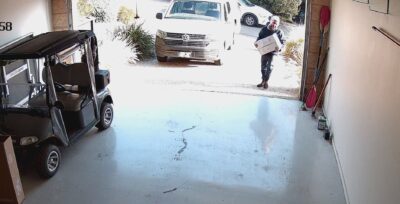
Own a holiday home? Keeping an eye on it when you’re away is a real challenge. A client on the Mornington Peninsula wanted to remotely